Warning: See warning in subsection 1.
Note: If necessary, clean the fuel tank and areas adjacent to the fuel lines and fuel hoses to prevent fuel system clogging.
1. Remove the fuel tank filler cap - this will equilibrate the tank pressure with atmospheric pressure.
2. Relieve pressure in the fuel system (see subsection 2).
3. Disconnect the negative battery cable.
4. Using the pumping kit (commercially available), pump out the fuel into a prepared gasoline canister.
Warning: Do not suck fuel into your mouth.
5. Raise the vehicle and install vertical supports.
6. Remove the frame support beam.
7. If necessary, unscrew the bolts and remove the fuel tank protective panel.
8. Disconnect the direct and return fuel lines from the adsorber, as well as the fuel vapor circulation lines (see subsection 4) (see illustration).

5.8. Lines connected to the fuel vapor adsorber
9. Disconnect the filler hose from the tank.
10. Disconnect the wire connectors from the fuel pressure sensor in the tank and from the evaporative emission system vent valve (see illustration).

5.10. Evaporative emission system vent valve
11. Support the tank with a jack, which is designed to lift the gearbox.
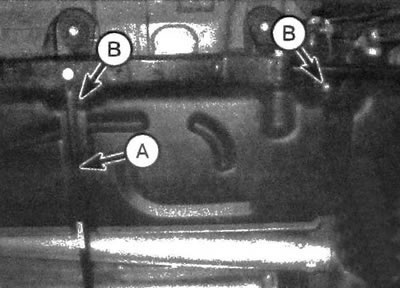
12. Remove the support beam that runs under the fuel tank. Also unscrew the bolts and remove the tank fastening tapes (see illustration).

5.12. Remove the supporting beam (A), unscrew the bolts (IN) and remove the tank securing straps
13. Lower the tank slightly and disconnect the electrical connectors from the fuel pump.
14. Jack down and remove the fuel tank from under the vehicle.
15. Installation is carried out in the reverse order of removal.
