Latch
1. Raise the glass completely, then remove the door trim panel and the rear section of the weatherstripping strip (see subsection 15).
2. Disconnect the rods from the lock cylinder. as well as from the outer and inner handles (see illustration).
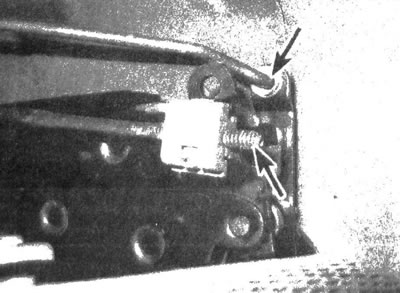
17.2. Disconnect the rods from the latch, performing the procedure through the openings in the door panel
3. Unscrew the three fastening screws that have hex sockets in their heads (You may need to use an impact wrench to loosen the tightening force), then remove the latch from the door (see illustration). If possible, disconnect the rods from the lock while it is still in the door cavity. If this fails, pull out the lock, and then disconnect the rods and electrical connectors from it.
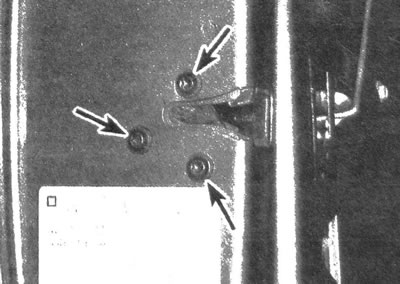
17.3. The door lock latch is secured with three hex head bolts
4. Installation is carried out in the reverse order of removal. Make sure the door lock is working.
Lock cylinder
5. Remove the outside door handle (see below). Disconnect the rod, then, using a screwdriver, press out the latch and remove the lock cylinder from the door handle (see illustration).
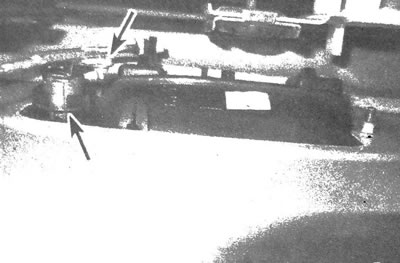
17.5. Disconnect the rod, pry and remove the bracket, then remove the lock cylinder
6. Installation is carried out in the reverse order of removal.
External handle
7. Disconnect the rod, unscrew the nut (ki) and disconnect the outside handle from the door.
8. Place the handle at the original location, connect the rod and install the nut (ki). Tighten the nut securely (ki).
Inner handle
9. Remove the door trim panel as described in subsection 16.
10. Remove the facing frame of the inner door handle (see illustration).
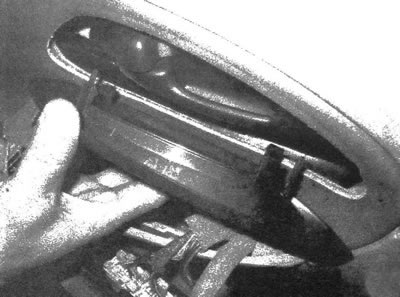
17.10. Carefully release the clips and remove the trim frame of the inner door handle
11. Disconnect the latch rod from the handle, then unscrew the fastening bolt (see illustration). Pull the handle forward and disconnect it from the mounting holes, then remove it from the door.
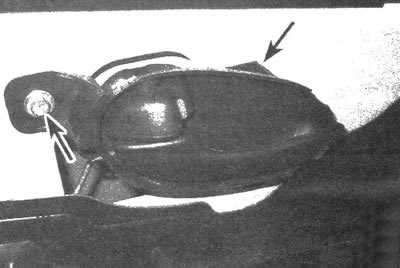
17.11. Unscrew the fastening bolt (marked with left arrow) and push the inner handle forward to remove it from the cutout (marked with right arrow)
Bumper
12. To make fine adjustments to the door, it is necessary to loosen the bumper bolts (located opposite the latch) and adjust its position (see illustration). Tighten the bolts securing the bump stop and check the functionality of the lock.
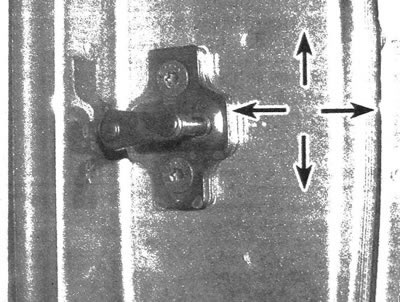
17.12. When adjusting, the bump stop can be moved in vertical and horizontal directions
Note: When adjusting, the bump stop can be moved in vertical and horizontal directions.
