Note. To perform this operation, you will need a spring compressor.
1. If there are visible signs of wear on the struts or coil springs (fluid leakage, loss of damping capacity, chips, cracks), then before starting work, think over all the options. The struts are non-repairable parts, and therefore, if any problem occurs, they must be replaced.
Attention! Disassembling the rack assembly is a hazardous operation and all precautions must be taken when performing it or serious injury may result. Use only high quality spring compressors and carefully follow all manufacturer's instructions. After removing the coil spring from the strut assembly, set it aside.
2. Remove the stand (see section 2).
3. Secure the stand in a vise. Lay the jaws of the vise with wooden blocks or rags to prevent damage to the rack; do not overtighten the vise.
4. Install the spring compressor according to the manufacturer's instructions (see illustration). Compress the spring until it becomes possible to rock the mount and spring plate.
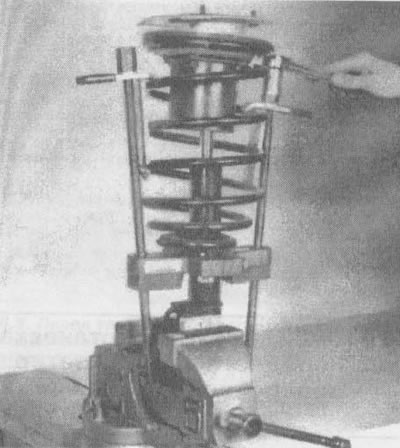
3.4. To disassemble the rack assembly and the coiled coil spring, it is necessary to have a device for compressing the springs
5. To unscrew the damper rod nut, hold the shock shaft with a special wrench (see illustration).
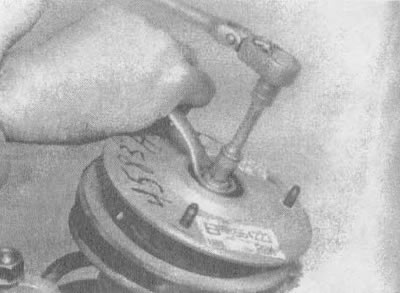
3.5. After the spring is compressed, unscrew the shock absorber rod nut
6. Disassemble the rack (see illustrations) and lay out the rack parts in the order shown in the illustration.
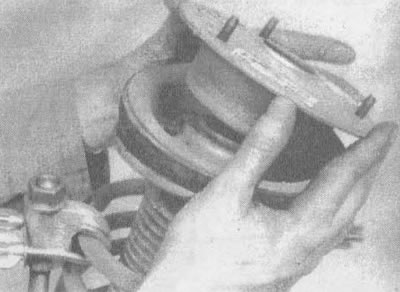
3.6a. Remove bearing cap... | 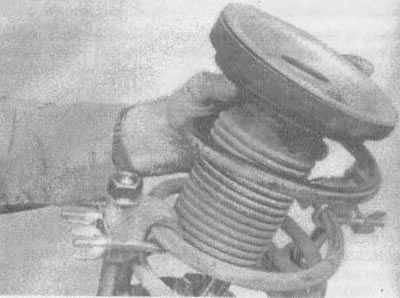
3.6b.... and the upper spring plate with an insulator from the shock absorber axle |
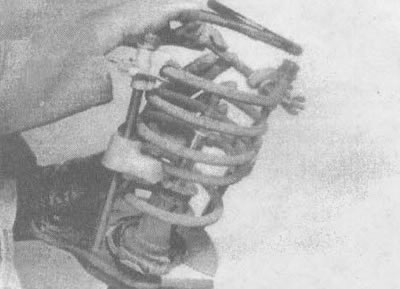
Z.bv. Remove the compressed spring. Be very careful when handling the spring | 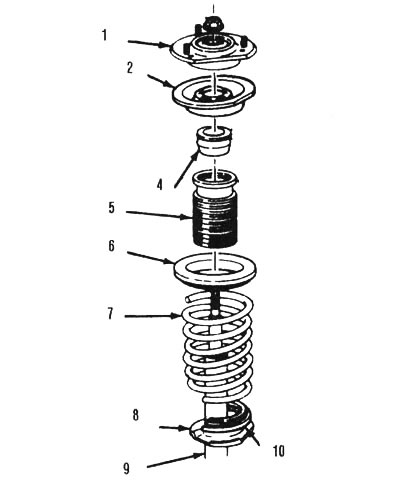
3.6g Rack details: 1 - support cup, 2 - upper spring plate, edges should be directed in the same direction as the lower flange at the bottom of the rack, 4 - cushion, 5 - boot, 6 - upper spring gasket, 7 - spring, 8 - lower spring plate, 9 - shock absorber assembly and strut, 10 - lower spring spacer |
Attention! When removing a compressed spring, lift it very carefully and place it in a safe place such as a steel box. Stay away from the ends of the spring!
7. Check the rubber parts for damage, cracking and loss of elasticity and replace if necessary.
8. Assembly is carried out in the reverse order. Be careful not to damage the shock absorber rod or the strut will leak. When installing the spring, make sure that the ends of the spring fit exactly into the installation locations on the upper and lower spring plates.
