Withdrawal
1. Loosen the wheel nuts, raise the front of the vehicle and secure it on stands. Apply the parking brake and block the rear wheels to prevent the vehicle from rolling off the stands. Remove the wheel.
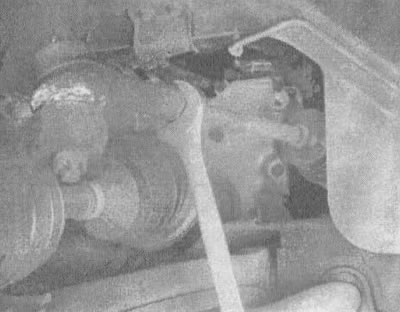
2. Loosen the tie rod end nut (see illustration).

16.2. Loosen locknut on inner tie rod end
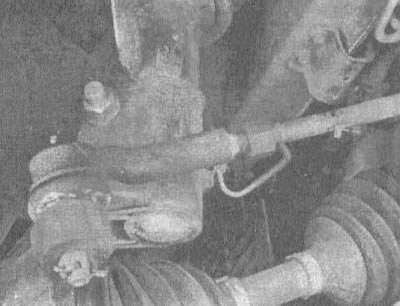
3. Mark the location of the tie rod end on the threaded part of the tie rod (see illustration). This will ensure that the wheel alignment is restored during assembly.

16.3. To ensure that the tie rod end is screwed into the inner tie rod correctly, mark the threaded area of the inner tie rod with paint (indicated by an arrow)
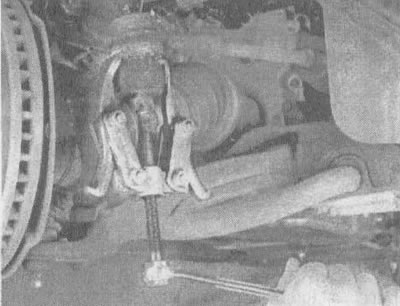
4. Disconnect the tie rod end from the steering knuckle using a puller (see illustration).

16.4. By removing the cotter pin from the castle nut on the tie rod end pin and loosening (without taking off) nuts, install a puller and separate the tie rod end from the steering knuckle
5. Turn away a tip of steering draft from steering draft.
Installation
6. Screw the tie rod end onto the tie rod to the marked position and connect the tie rod end to the steering rod. Install the castle nut and tighten to the torque specified in this chapter's specifications. Insert new pin.
7. Tighten the lock nut securely and install the wheel. Lower the vehicle and tighten the wheel nuts to the torque specified in the technical data chapter 1.
8. Check the geometry of the front wheels.
