Attention! Disc brake pads should be replaced on both front wheels at the same time - never replace them on just one wheel. Also, remember that the dust generated during the operation of the brake system may contain asbestos, which is hazardous to health. Never blow out such dust with compressed air or inhale it. When servicing the brake system, a protective filter mask must be worn! Do not, under any circumstances, use petroleum-based solvents to clean brake parts (kerosene, petrol). Use only brake cleaner or denatured alcohol.
Note. When servicing disc brakes, use only high quality branded brake pads.
1. Unscrew the cap from the brake fluid reservoir and use a blower to pump out about 60 g of fluid.
2. Loosen the wheel nuts, raise the vehicle and secure it on stands.
3. Remove the front wheel, then reinstall the three nuts (flat side to disc), to hold the disc in place. Work on only one brake mechanism, if necessary using the assembled brake for comparison.
4. Carefully inspect the disc as described in section 4. If grinding is necessary, follow the information in this section to remove the disc; at this time, you can also remove the pads from the caliper.
5. Push the piston back into the cylinder. A C-clamp can be used if needed, but a flat bar is usually sufficient (crowbar) (see illustration). When the piston is pressed into the cylinder, the fluid level in the brake master cylinder will rise. Be careful not to spill liquid. If necessary, remove some more liquid as described in point 1.
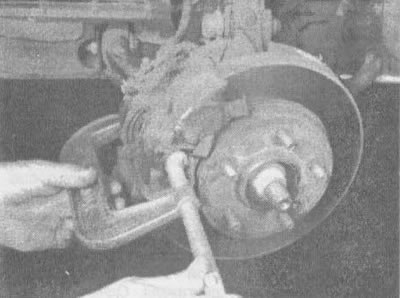
2.5. To press the piston into the caliper during removal, you can use the C-clamp
6. Replace pads (see illustrations 2.6a-2.6l).
7. When installing the caliper in its original place, do not forget to tighten the bolts to the torque specified in the specifications of this chapter. Upon completion of work, press the brake pedal firmly several times so that the brake pads come into contact with the disc.
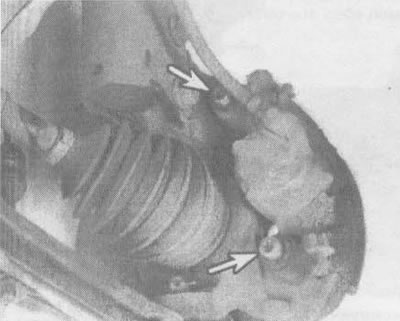
2.6a. To unscrew the two bolts of the caliper, you must use the head Togh 50 (bolts are indicated by arrows) on cars manufactured in 1990 and 1991. Do not attempt to loosen these bolts with a hex wrench as this may damage the bolt heads | 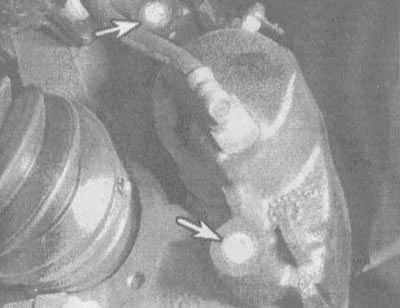
2.6b. caliper bolts (indicated by arrows) on cars of 1992 and later years of release - the usual hexagonal type |
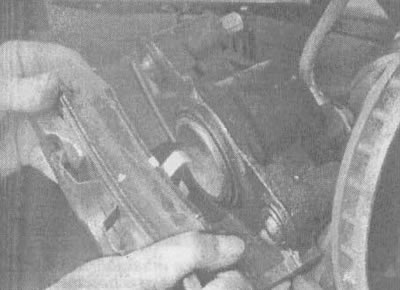
2.6c. Remove the inner pad | 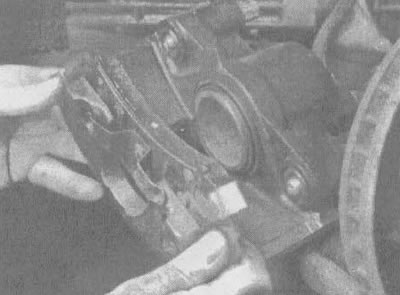
2.6g. Unhook the outer pad from the caliper |
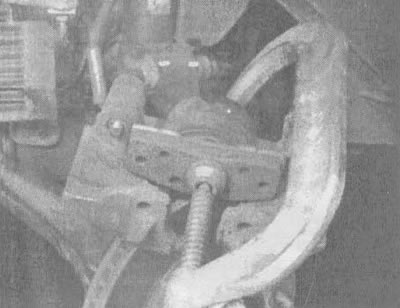
2.6d. Now use the C-clip to fully press the piston into the cylinder | 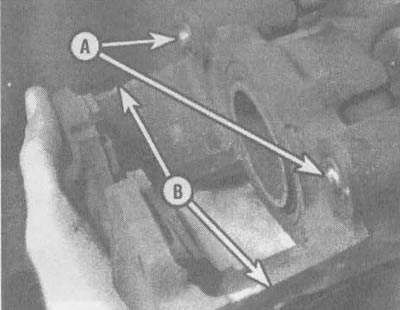
2.6e. Check for damage and corrosion on the caliper bolts and bushings (A) and contact surfaces (IN) |
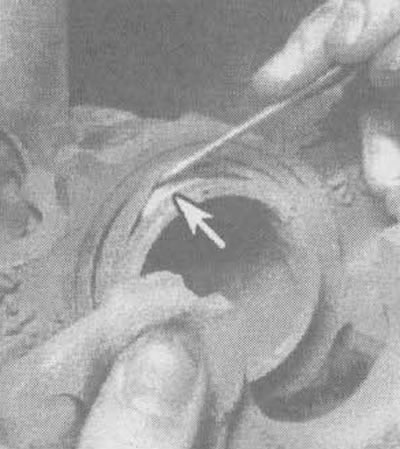
2.6g. Carefully wring out the edge of the piston protector and check for signs of corrosion and brake fluid leaks | 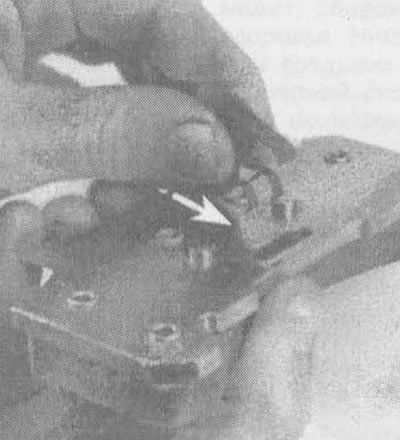
2.6z. Snap the inner shoe retaining spring into the new shoe in the direction shown (arrow). If a retaining spring is already seated on the new pad, skip this step |
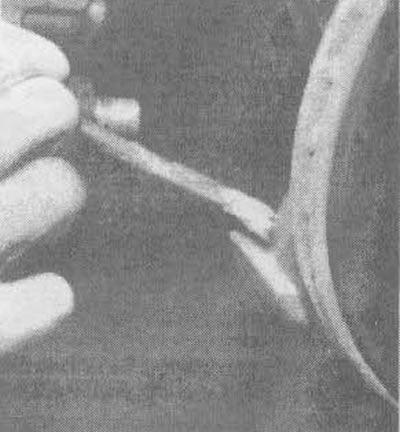
2.bi. Lightly lubricate the contact surface of the lower steering knuckle with lithium-based grease | 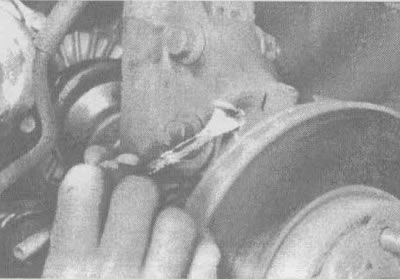
2.6k. Apply a thin layer of white lithium based grease to the contact surface between the upper steering knuckle and the caliper |
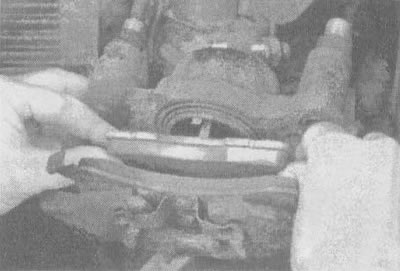
2.6l. Position the pads and snap the inner pad into place in the piston
