Front heater radiator
1. Disconnect the wire from the negative battery terminal.
2. Drain the coolant from the cooling system (see chapter 1, section 29).
3. While in the cabin, remove the soundproof panel (see chapter 11, section 25).
4. Remove the heater inlet and outlet hose clamps and separate them from the heater core.
5. Remove the glove box (see chapter 11, section 26).
6. Turn away bolts of fastening of the left bracket of the lower panel (see chapter 11, section 22).
7. Disconnect the vacuum hose from the solenoid valve, unscrew the fixing screws of the solenoid valve and release it from the cover.
8. Remove the heater radiator cap (see illustration).
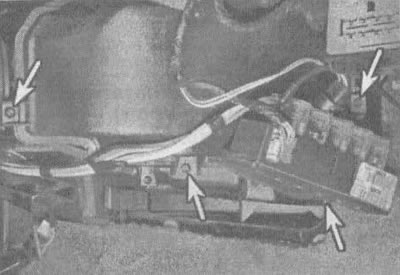
11.8. Remove the three lower bolts and the mounting sleeve (indicated by arrows); three more bolts are located on the upper perimeter of the cover
9. Remove the heater core.
10. Installation is carried out in the reverse order. Don't forget to add coolant to the system (see chapter 1, section 29).
Rear heater radiator
11. Disconnect a wire from a negative conclusion of the storage battery. Drain the liquid from the cooling system (see chapter 1, section 29). If the coolant is relatively fresh or in good condition, save it for later use.
12. Remove the left side support of the middle row (see chapter 11, section 23).
13. Remove the middle upholstery panel (see chapter 11, section 12).
14. Disconnect the rear evaporator and supercharger housing from the door (see section 10).
15. Follow the sequence of actions indicated in the photographs (see illustrations). Be sure to read all accompanying captions.
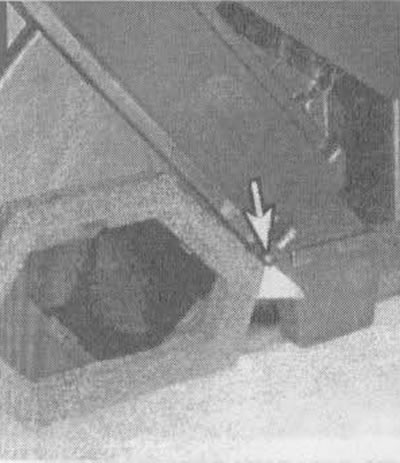
11.15a. Loosen the heater core cover bolts on both sides (indicated by arrows) | 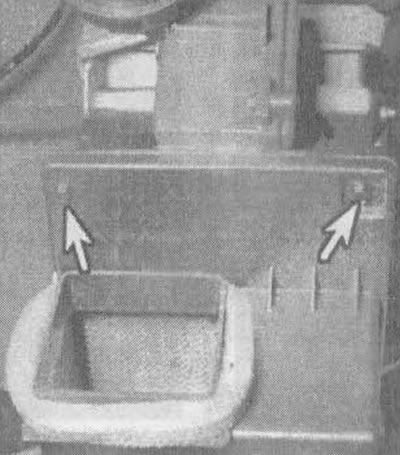
11.15 b. Loosen the top two screws on the cover and remove it |
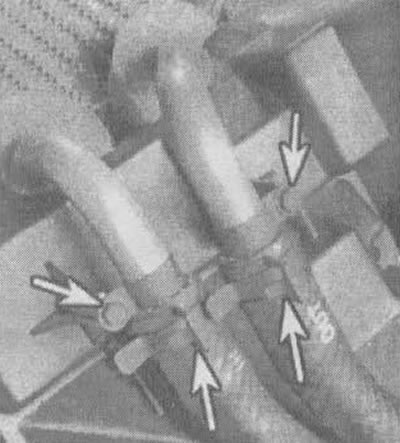
11.15c. Using pliers, squeeze the hose clamps and pull out the hoses, then remove the hose connector bracket bolts (indicated by arrows) | 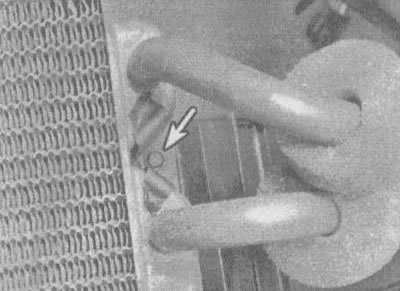
11.15 Loosen the bracket bolt (indicated by an arrow) from the bottom of the node... |
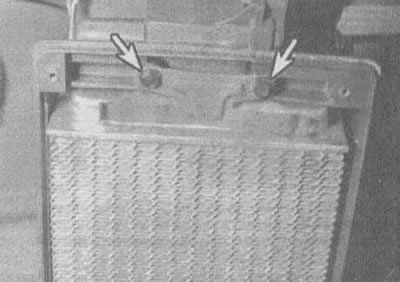
11.15 d....and bolts from the top of the assembly (indicated by arrows), then pull out the heart-blame heater
16. Installation is carried out in the reverse order. Don't forget to add fluid to the cooling system (see chapter 1, section 29).
