Front control node
1. Disconnect the wire from the negative battery terminal.
2. Remove the panel around the control box (see chapter 11, section 27).
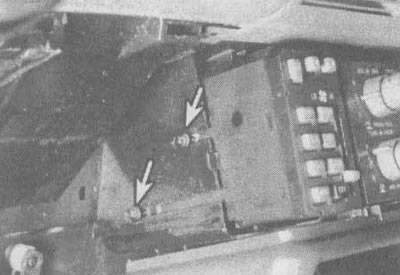
3. Loosen the screws on the left side (on cars manufactured in 1990-1992.) or in front (on vehicles from 1993) control panels (see illustration).

12.3. Loosen the screws (indicated by arrows) on each side of the control box (on cars manufactured in 1990-1992.)
4. Disconnect the electrical connectors on the back of the control panel (see illustration). Remove the panel.

12.4. Disconnect the wiring connectors from the back of the control unit
5. Installation is carried out in the reverse order.
Rear control panel
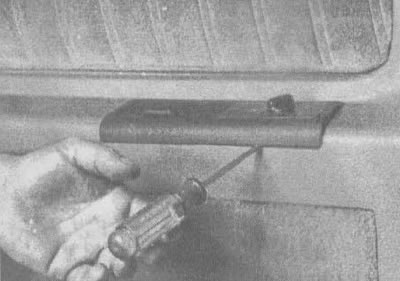
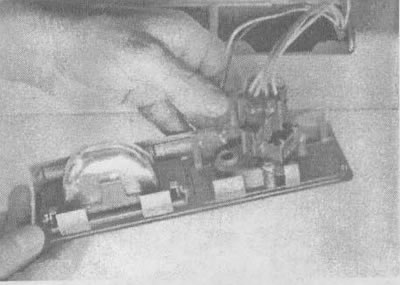
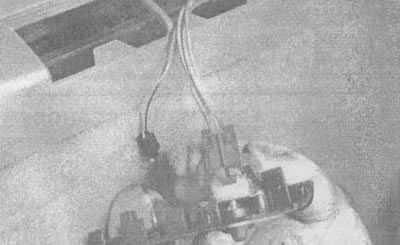
6. Follow the sequence of disassembly operations shown in the photographs.

12.6a. Carefully pry out the control panel by pressing down on the hidden tabs with a small screwdriver and pushing the panel up

12.6b. Remove the lamp connector and free it

12.6v. Disconnect the wiring connector and pull out the panel
7. Installation is carried out in the reverse order.
