The operation is shown on a hatchback vehicle.
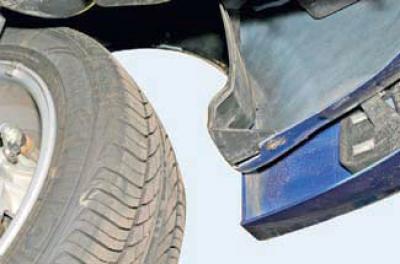
With a "7" head, we unscrew one screw from the bottom
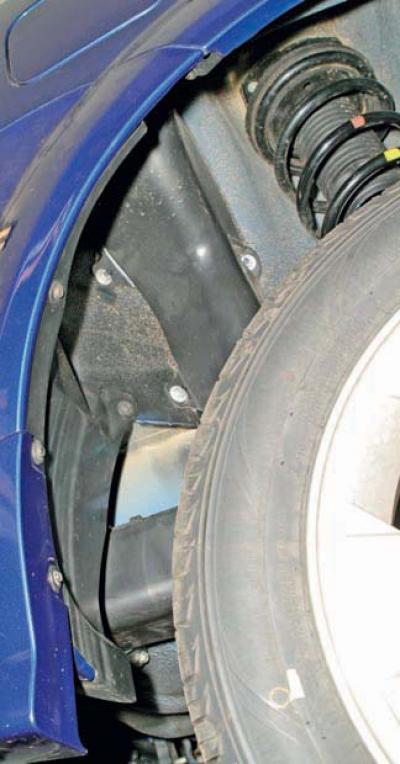
and four self-tapping screws located on the flanging of the rear right mudguard to the bumper.
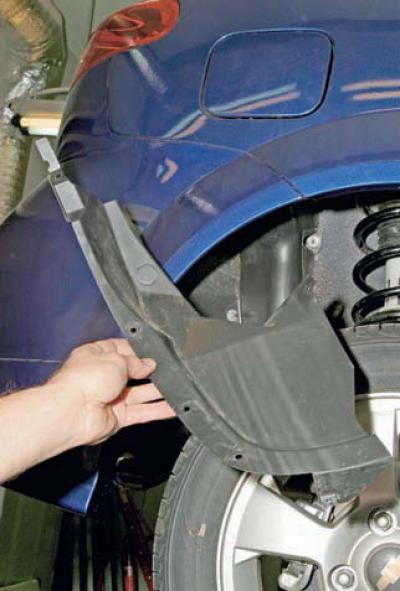
Remove the dust shield.
Similarly, we dismantle the shield on the other side of the car.
Removing the right and left luggage compartment upholstery (see Removing the upholstery of the trunk).

Using a Phillips screwdriver, unscrew the four screws of the upper fastening of the rear bumper lining to the body.

With a "10" head, unscrew the two nuts

and one bolt securing the bumper to the body on the right side of the luggage compartment.
We perform similar operations on the other side of the car.

Using the "14" head, unscrew the bolt securing the right bumper bracket to the body.
We unscrew the same bolt on the left.

We remove the bumper from the car.

Bumper attachment points: 1 - to the wing; 2 - to the rear panel; 3 - to the rear spar; 4 - to the mudguard
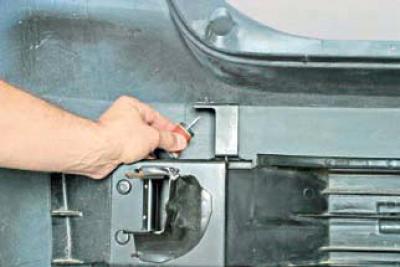
To remove the energy-absorbing beam, unscrew the piston retainer on the upper bracket
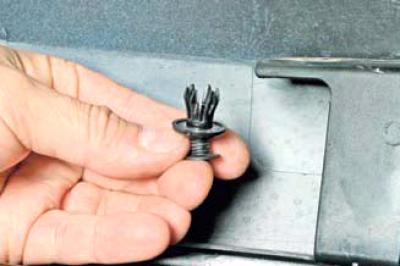
and take out the piston.
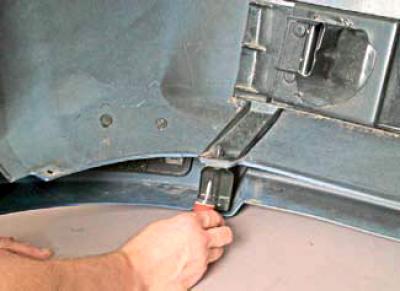
Dismantle the lower piston in the same way.
Performing the same operations on the other side of the bumper
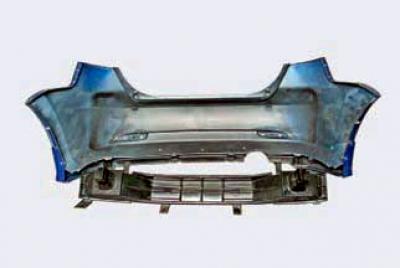
remove the energy absorber.
We install the elements of the rear bumper in the reverse order and check the reliability of its fastening.
