The work is shown on the driver's door of a hatchback car. The upholstery of the right front door is removed in the same way.
Removing the exterior mirror cover (see Removing the outside rear-view mirror).

Putting thin cardboard under the screwdriver, pry off the decorative frame of the inner door handle and slightly move the back of the frame away from the upholstery.

We hook the frame in one more place and, overcoming the resistance of the clamps

we take her away.

We pull the tweeter wiring harness connector out of the cavity and, having separated the parts of the block, remove the decorative frame.

In the niche of the armrest, use a Phillips screwdriver to unscrew the self-tapping screw for the power window switch block
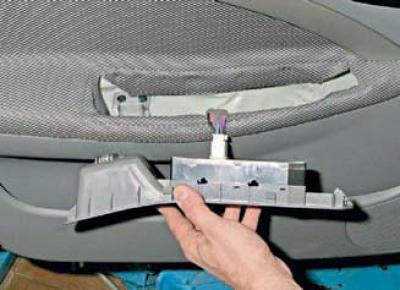
and remove the block from the hole in the armrest.

By pressing the latch, we disconnect the block of the wiring harness from the switch block.
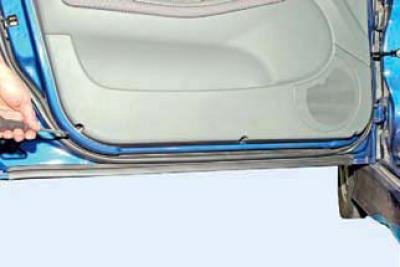
Using a Phillips screwdriver, unscrew the three self-tapping screws of the lower fastening of the door upholstery.
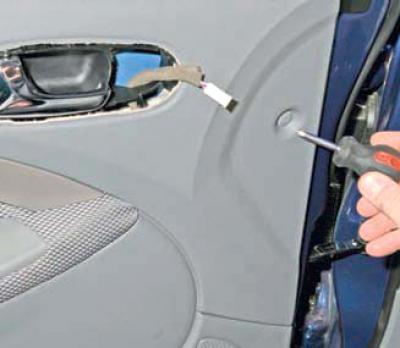
Using a Phillips screwdriver, unscrew the retainer of the door upholstery fastening clip.
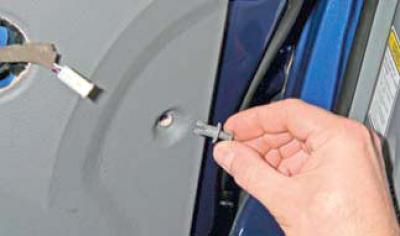
We take out the piston.

We separate the door upholstery from the inner panel, overcoming the resistance of three caps.
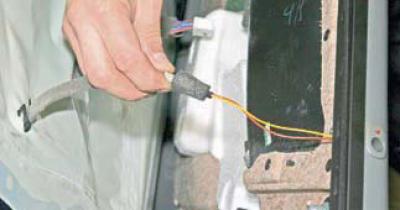
Disconnect the immobilizer signaling device connector.
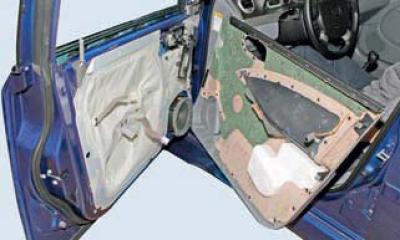
Removing the door trim
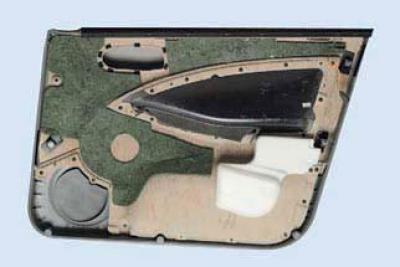
The location of the caps on the inside of the front door upholstery.
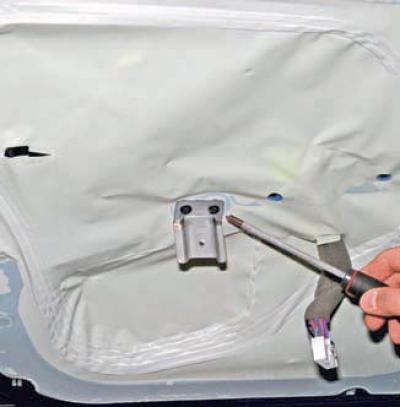
Using a Phillips screwdriver, unscrew the two screws securing the switch block bracket and remove it.
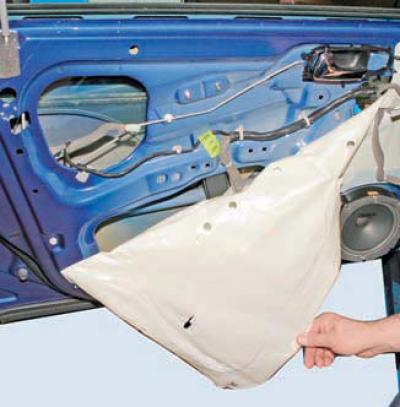
Carefully peel off the moisture-proof film.
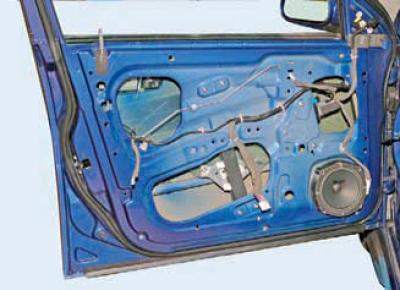
View of the door with the upholstery and moisture-proof film removed.
When assembling, carefully glue the moisture-proof film.
Replace damaged pistons with new ones.
Install the front door trim in reverse order.
