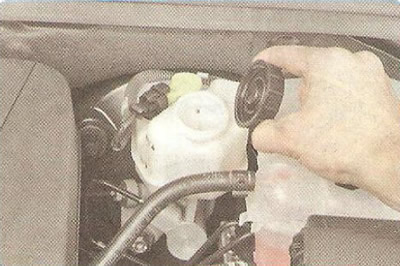
1. Remove the cap of the master cylinder reservoir and pump out, for example, with a large medical syringe, brake fluid from the section of the master cylinder reservoir that feeds the clutch release hydraulic actuator.
Note: The reservoir shared between the brake and clutch master cylinders consists of three separate sections: two for separate brake circuits and one for the clutch release.
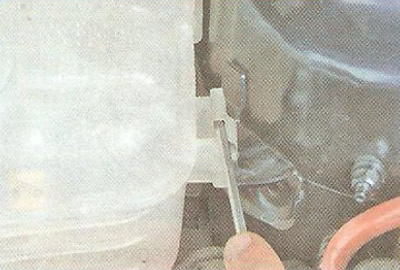
2. Use a screwdriver to pry the expansion tank fasteners to the body and take the tank to the side without disconnecting the hoses from it and without draining the coolant.
Note: Removing the expansion tank is necessary to gain access to the clutch release master cylinder.
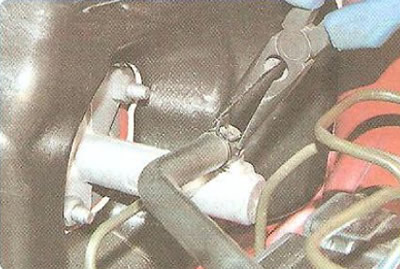
3. Use pliers to squeeze the bent ears of the clamp, slide the clamp along the supply hose...
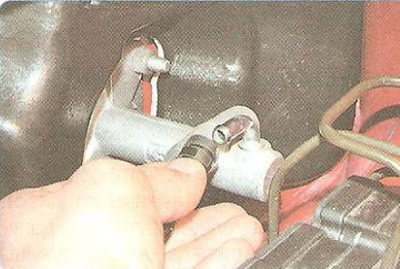
4.... and disconnect the hose from the master cylinder.
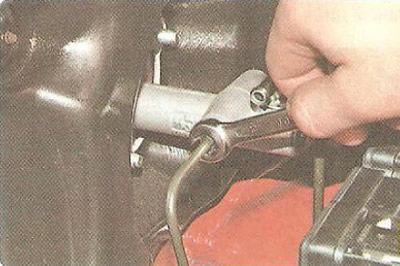
5. Unscrew the nut that secures the clutch release hydraulic tube to the master cylinder...
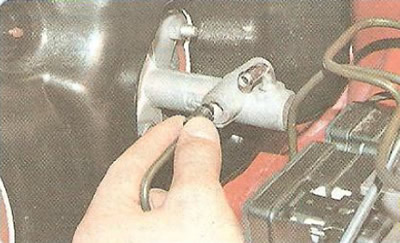
6.... and put the handset aside.
7. In the passenger compartment under the instrument panel, disconnect the master cylinder pusher from the clutch pedal (see «Removal and installation of the clutch pedal»).
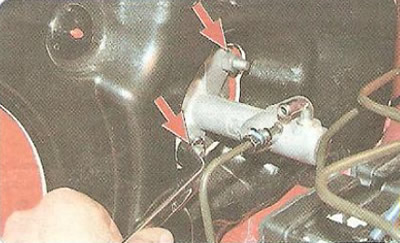
8. Unscrew the two nuts securing the clutch release master cylinder to the clutch pedal bracket...
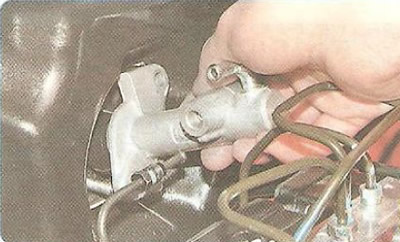
9.... and remove the master cylinder.
10. Install the parts in the reverse order of removal and bleed the air from the hydraulic actuator (see «Bleeding the hydraulic clutch release»).
11. Check the operation of the drive and, if necessary, adjust the travel of the clutch pedal (see «Checking and adjusting the travel of the clutch release pedal»).
