- traces of oil on any surface of the belt;
- signs of wear of the toothed surface, cracks, undercuts, folds and delamination of the fabric from the rubber;
- cracks, folds, depressions or bulges on the outer surface of the belt;
- fraying or delamination on the end surfaces of the belt.
Warning: A belt with traces of engine oil on any surface must be changed without fail, as the oil quickly destroys the rubber. Cause of oil on the belt (usually due to leakage of crankshaft and camshaft oil seals) must be eliminated immediately.
Note: Carry out work on a viewing ditch, overpass or, if possible, on a lift.
You will need: keys «on 10», «at 14», «at 17», sliding pliers, hex key «by 5».
1. Remove the accessory drive belt (see «Accessory drive belt replacement»).
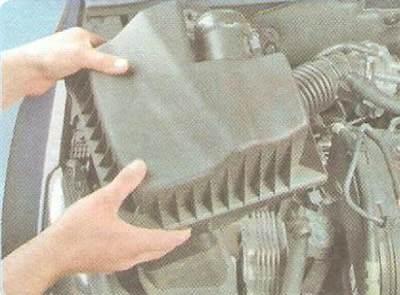
2. Remove the air filter (see «Removal and installation of the air filter housing and intake silencer»).
3. Remove the right front wheel.
4. Set the piston of the 1st cylinder to the TDC position of the compression stroke (see «Setting the piston of the first cylinder to the TDC position of the compression stroke»).
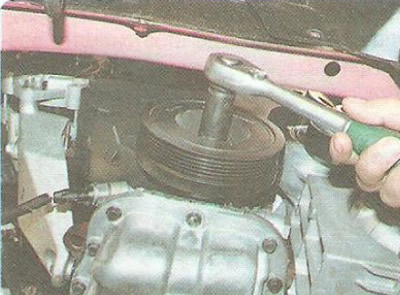
5. Turn out a bolt of fastening of a pulley of a cranked shaft...
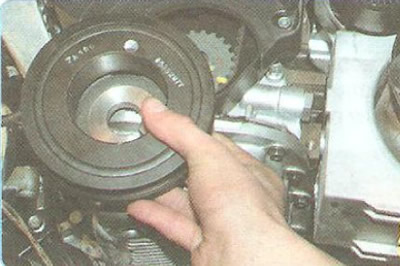
6.... and remove the pulley.
Helpful Hint: The crankshaft pulley bolt is tightened to a very high torque. In order to fix the crankshaft from turning, turn on the V gear and press the brake pedal (an assistant should do it).
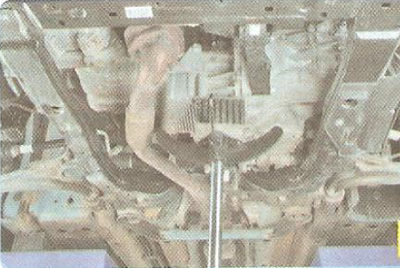
7. Securely support the engine.

8. Turn out two bolts and turn off one nut of fastening of an arm of the right support of an engine suspension bracket to a wing...
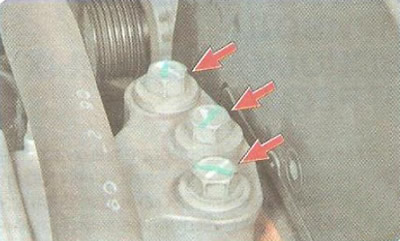
9....then unscrew the three bolts securing the right support to the bracket on the engine...
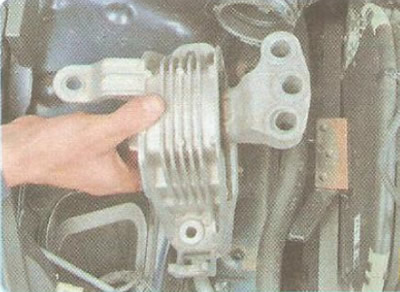
10.... and remove the right engine mount.
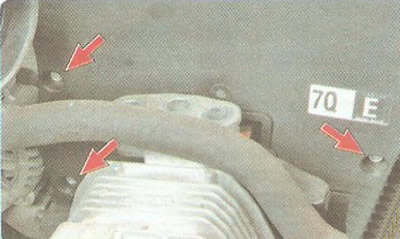
11. Turn out three bolts of fastening of the top cover of a drive of the gas-distributing mechanism.
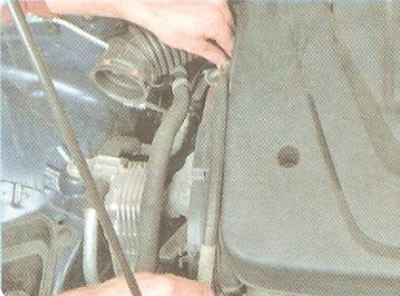
12. Remove the power steering pump hose from the latches on the top cover of the timing gear drive and take it aside.
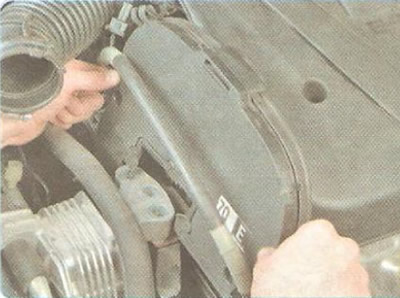
13. Remove the upper timing cover by sliding it up.
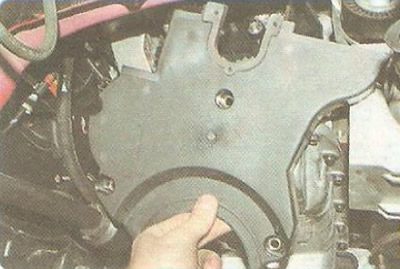
14. Turn out three bolts of fastening of the bottom cover of a drive of the gas-distributing mechanism and remove it.
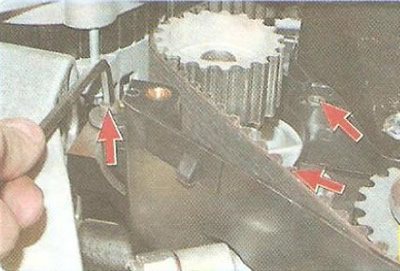
15. Loosen the three water pump mounting bolts.
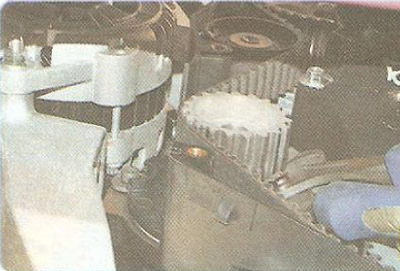
16. Turn the water pump housing counterclockwise to loosen the timing belt tension.
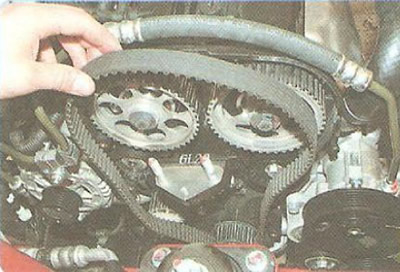
17. Remove the drive belt.
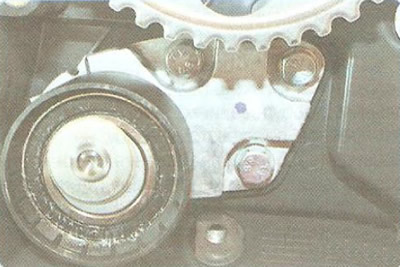
18. To replace the tension roller, unscrew the three bolts securing the bracket to the cylinder block...
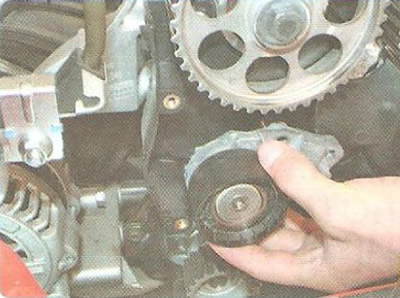
19....and shoot the video.
20. Install the roller in the reverse order of removal.
21. Check the alignment of the alignment marks of the crankshaft and camshafts (see «Setting the piston of the first cylinder to the TDC position of the compression stroke»).
22. Put on a belt on a gear pulley of a cranked shaft. Pull the drive branch of the belt and put it on the camshaft pulleys. Put the rear branch of the belt on the water pump pulley and wind it behind the tension roller.
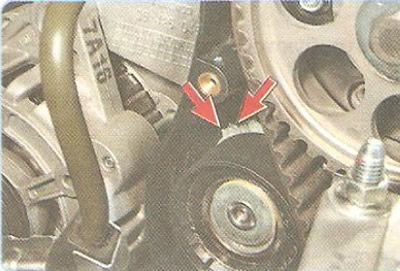
23. Adjust the tension of the timing belt, for which turn the water pump housing clockwise, controlling the degree of belt tension according to the tension roller indicators. In this case, the movable tension roller pointer will move counterclockwise towards the fixed pointer on the roller bracket. The belt is considered to be tensioned correctly if the pointers match. In this position, tighten the water pump mounting bolts.
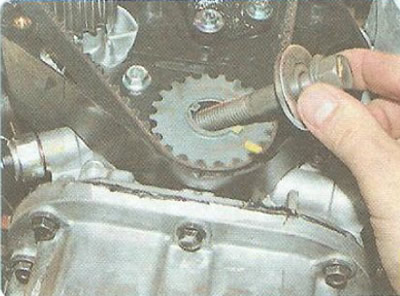
24. Screw the pulley mounting bolt into the crankshaft shank...
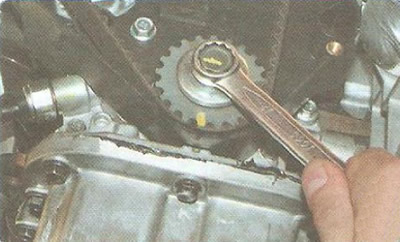
25.... and turn the crankshaft for the bolt two turns. Check the matching of the alignment marks of the crankshaft and camshafts. If not, reinstall the belt.
26. Check for leakage from under the water pump housing. Replace its o-ring if necessary (see «Water pump replacement»).
27. Establish all earlier removed details in sequence, return to removal.
