You will need: key «on 7», Phillips screwdriver.
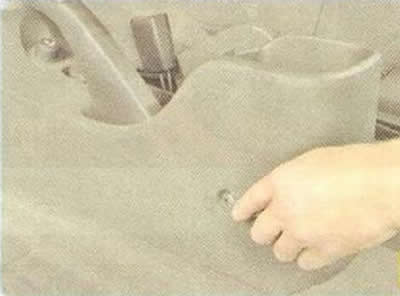
1. Turn out two bolts in a back part of facing at the left and on the right.
Note: The photo shows the left screw securing the rear part of the floor tunnel lining, the right screw is located symmetrically relative to the longitudinal axis of the vehicle and is not visible in the photo.
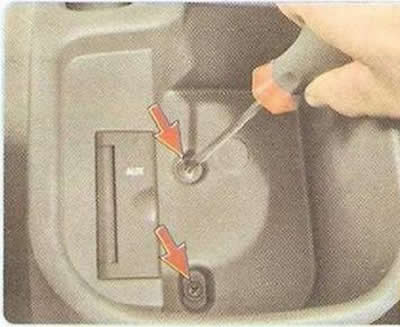
2. Remove the two screws securing the floor tunnel lining to the base of the cup holder.
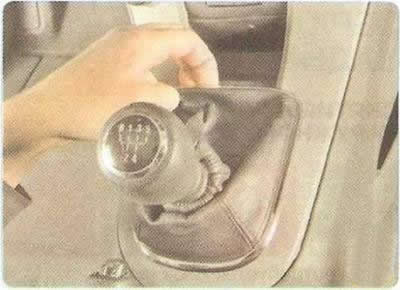
3. Overcoming the resistance of the clamps.
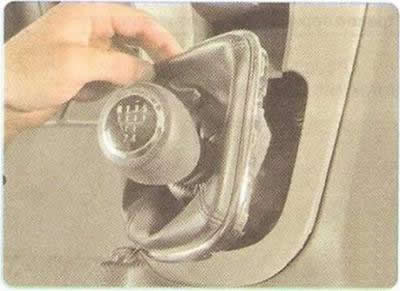
4.... remove the frame of the cover of the gear lever from the socket of the decorative overlay of the floor tunnel.
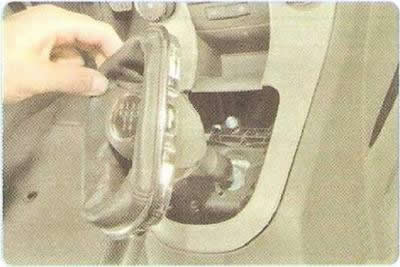
5. Turn the cover inside out and lift it up on the lever
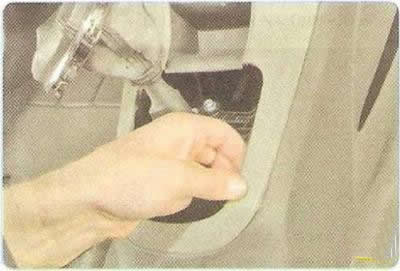
6. Overcoming the resistance of plastic retainers...
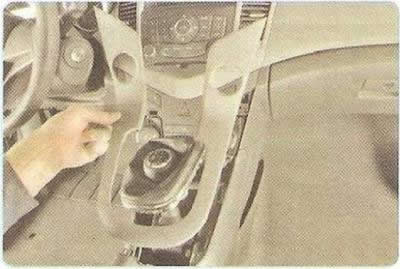
7.... remove the decorative overlay of the floor tunnel.
8. Overcoming the resistance of the clamps.
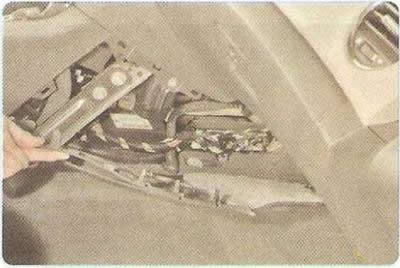
9.... remove the floor tunnel lining side panel.
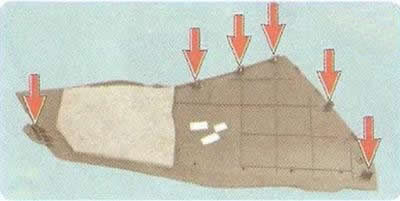
This is how the side panel fasteners are located.
10. Similarly remove the left side panel of facing of a tunnel of a floor.
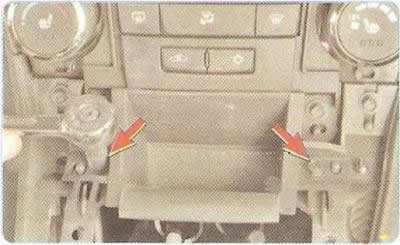
11. Turn out two bolts of fastening of an ashtray to facing of a tunnel of a floor...
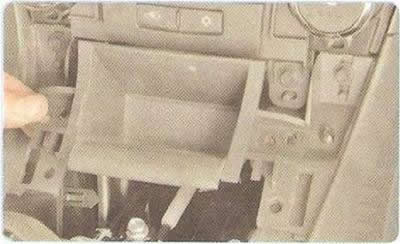
12.... and remove the ashtray.
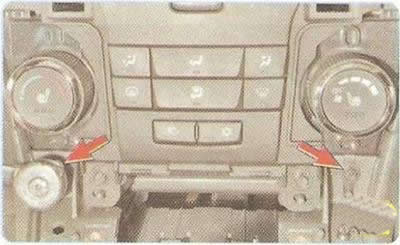
13. Turn out two bolts of the top fastening of a forward part of facing to the panel of devices...
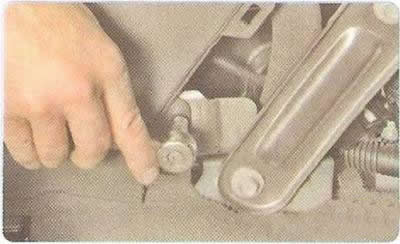
14.... and two lower mounting bolts on the left and right.
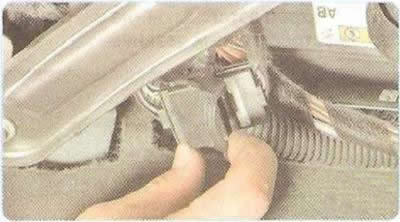
15. Pull out the latch...
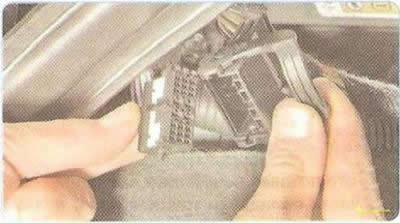
16.... and disconnect the floor tunnel wiring harness block.
17. Raise the parking brake lever...
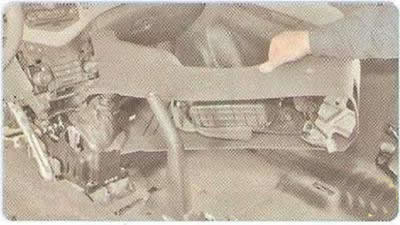
18.... and remove the lining.
19. Install the floor tunnel lining in the reverse order of removal.
