Procedure for dismantling
1. Place a drain pan under the rear drive unit.
2. Remove the drain plug from the bottom of the rear drive unit and the fill plug from the left side of the rear drive unit.
3. Drain liquid.
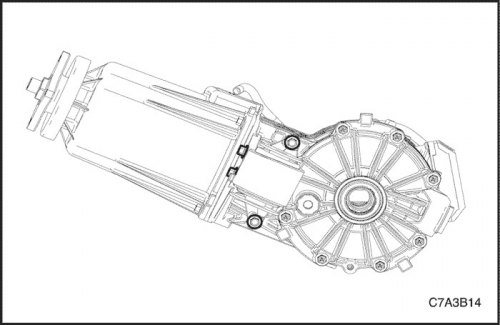
4. Remove the differential cup side bracket assembly.
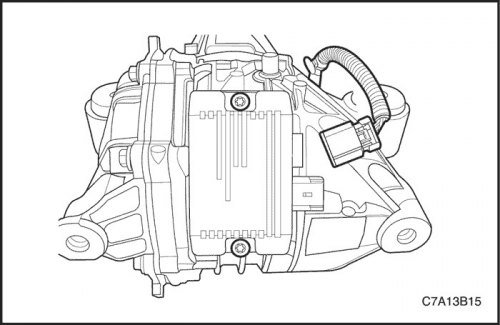
5. Disconnect the clutch controller connector and remove the clutch controller from the rear drive unit case.
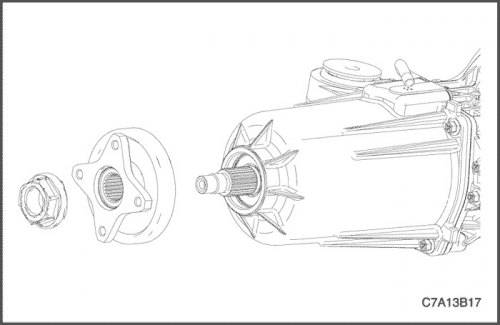
6. Remove and discard the toothed flange nut.
7. Remove toothed flange.
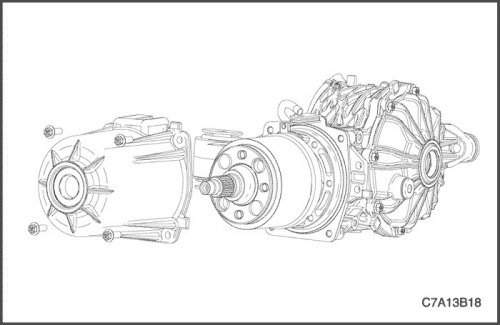
8. Remove clutch assembly, crankcase and seal.
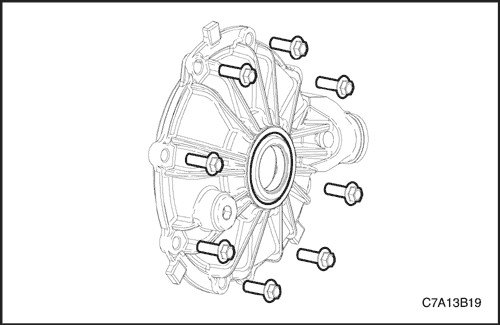
9. Remove the side cover and differential cup seal assembly.
10. Remove the rear drive shaft seals.
Assembly procedure
Necessary equipment
DT-48254 Rear Drive Shaft Seal Installer.
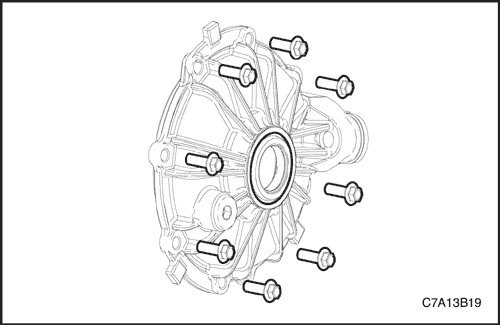
1. Install the side cover and differential cup seal assembly.
Tighten
Tighten the side bracket bolts of the differential cup assembly to 29 Nm (21 lb-ft).
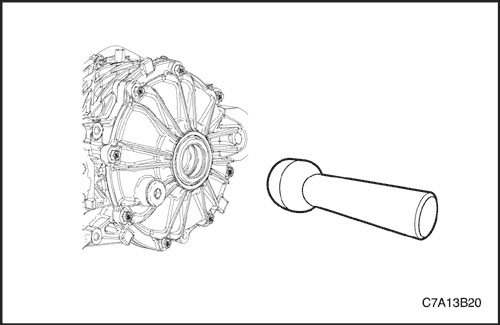
2. Install the rear drive shaft seal using the drive shaft seal installer DT-48254.
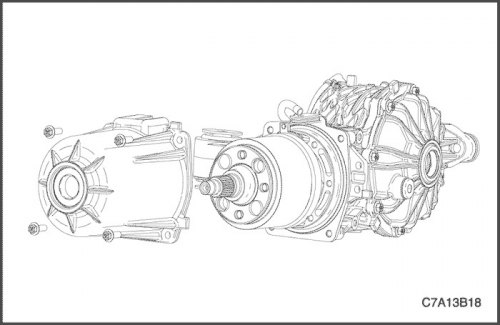
3. Install clutch assembly, crankcase and seal.
Tighten
Tighten the clutch housing mounting bolt assembly to 26 Nm (19 lb-ft).
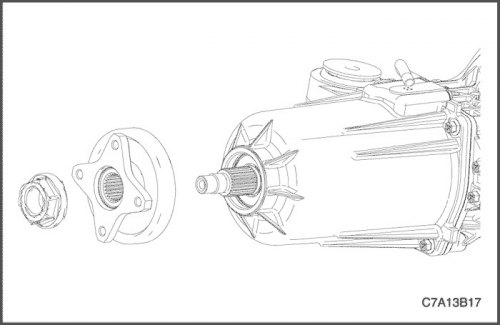
4. Install the toothed flange.
5. Install a new toothed flange nut.
Tighten
Tighten the toothed flange nut to 203 Nm (150 lb-ft).
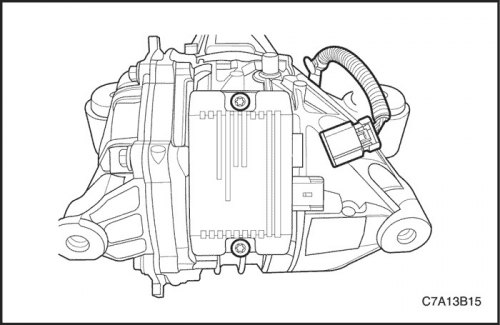
6. Install the clutch controller to the rear drive unit housing and connect the clutch controller connector.
Tighten
Tighten the clutch controller mounting bolt to 10 Nm (71 lb-ft).
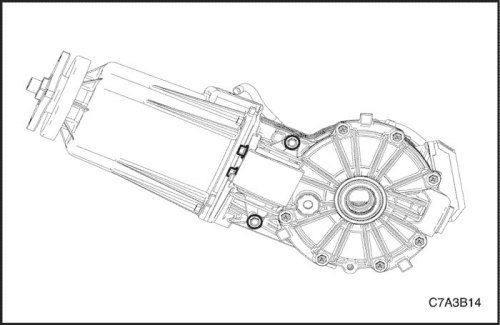
7. Install the differential cup side bracket assembly.
Tighten
Tighten the differential cup side bracket bolt assembly to 29 Nm (21 lb-ft).
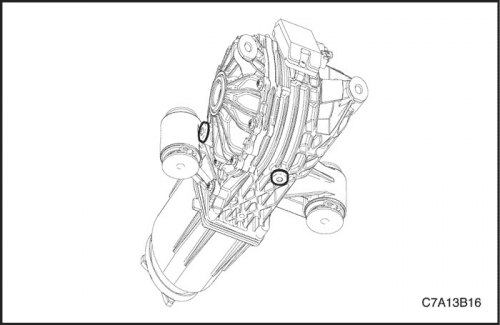
8. Thoroughly clean drain plug threads and apply thread sealant, GM P/N: 12346004 (catalog number for Canada 10953480), on the cork thread.
Tighten
Tighten the plug with a torque of 42 Nm (31 lb-ft).
9. Fill the RDM with grease until it overflows the edge of the filler hole.
10. Thoroughly clean filler plug threads and apply thread sealant, GM P/N: 12346004 (catalog number for Canada 10953480), on the cork thread.
11. Install the filler plug.
Tighten
Tighten the plug with a torque of 42 Nm (31 lb-ft).
