Withdrawal procedure
1. Raise and place the vehicle on stands.
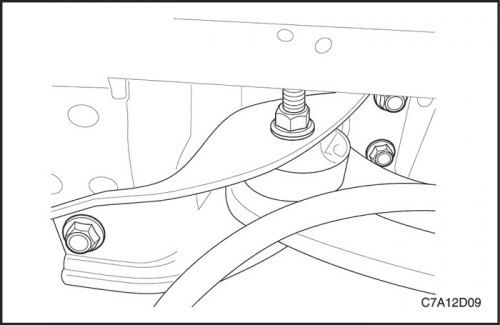
2. Remove the bolts securing the trailing arm bracket to the body.
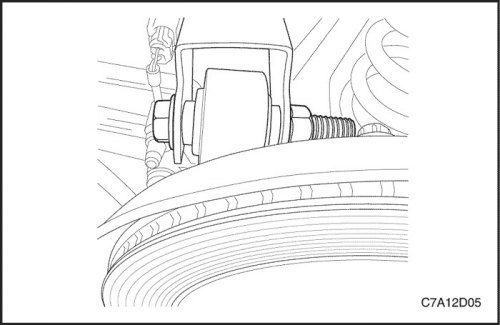
3. If equipped, remove the anti-lock brake system harness (ABS) from the upper suspension arm.
4. Remove the nut and bolt securing the upper control arm to the steering knuckle.
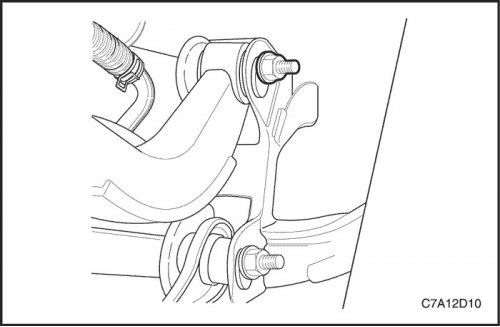
5. Remove the nut and bolt securing the upper control arm to the support.
6. Remove the upper suspension arm.
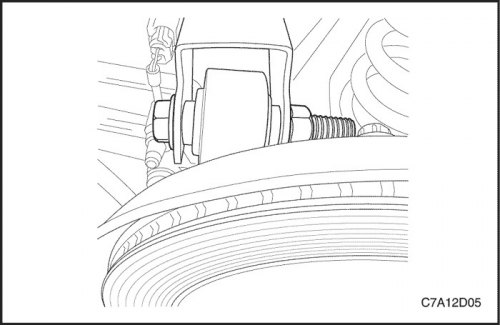
Installation order
1. Install the upper suspension arm to the steering knuckle.
2. Install the bolt and nut securing the upper suspension arm to the steering knuckle.
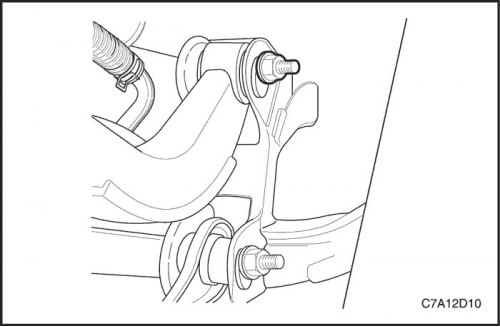
3. Install the bolt and cam nut securing the upper control arm to the mount.
4. Tighten the nut and bolt securing the upper suspension arm to the steering knuckle.
Tighten
Tighten the nut and bolt until a torque of 160 Nm is reached (118 lb-ft).
5. Tighten the bolt securing the upper suspension arm to the support.
Tighten
Tighten the bolt securing the upper suspension arm to the support until a torque of 160 Nm is reached (118 lb-ft).
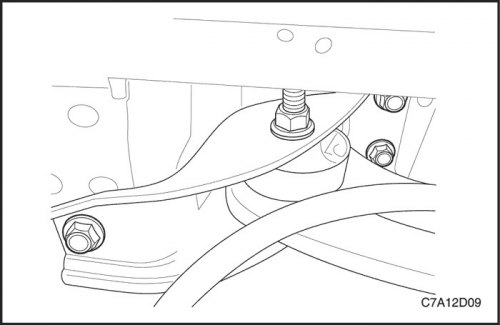
6. If equipped, install the ABS harness to the upper control arm.
7. Push the trailing arm up and loosely install the front bolt.
8. Use a drift to align the remaining bolts.
Tighten
Tighten bolts of fastening of an arm of a trailing arm to a body before achievement of the moment of 110 Nm (81 lb-ft).
9. Lower the car.
10. Check rear wheel alignment. See Part 2B. Adjustment of angles of installation of wheels.
