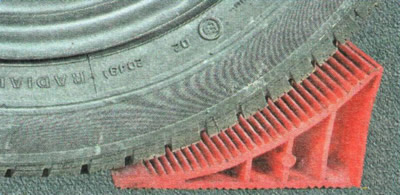
1. Brake the vehicle with the parking brake and place wheel chocks under the rear wheels («shoes»). Loosen the nuts on the corresponding front wheel.
WARNING: Loosen and tighten the wheel nuts only with the vehicle on the ground.
2. Raise and place the front of the vehicle on stands. Remove the wheel.
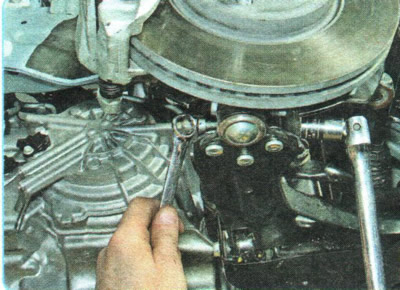
3. Turn away a nut of a coupling bolt of terminal connection of fastening of a spherical support to a rotary fist...
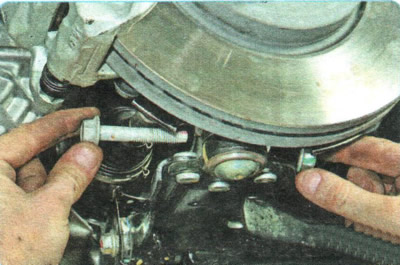
4....and remove the bolt from the hole.
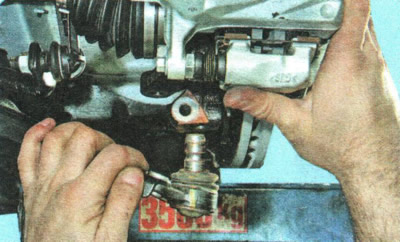
5. Press your finger out of your fist.

6. Turn out a bolt of forward fastening of the lever...
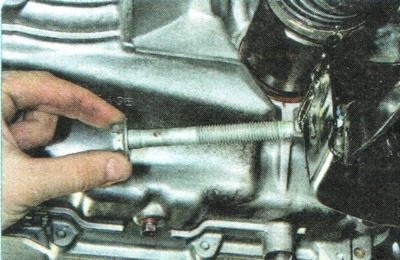
7.... and remove the bolt from the hinge hole.
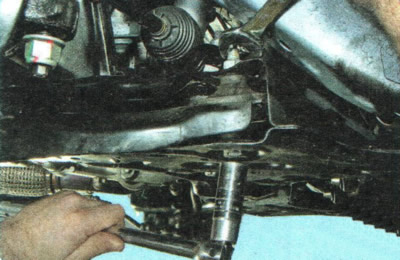
8. While holding the nut from turning, unscrew...
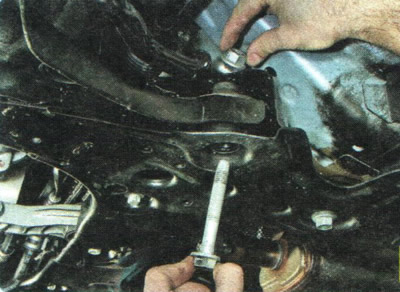
9.... and remove the lever rear mounting bolt.

10. Remove the front suspension arm.
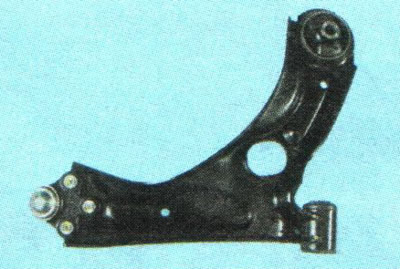
NOTE: Since the original front suspension arms are supplied in spare parts complete with rubber-metal joints and ball joints, disassembly of the arm does not make sense.
11. Establish the lever in an order, the return to removal, without tightening finally fastenings of rubber-metal hinges of the lever.
WARNING: Be careful not to damage the ball joint protective boot when installing.
12. After lowering the car to the ground, rock it hard several times. Finally tighten the suspension bolts with the vehicle on the ground.
13. After replacing the front suspension arm, check and, if necessary, adjust the wheel alignment, see «Checking and adjusting wheel alignment»). Use the services of workshops with special equipment.
