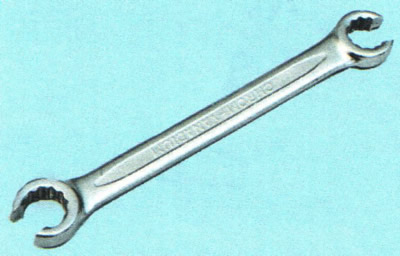
NOTE: This is what the special pipe nut wrench looks like.
According to the manufacturer's recommendation, it is recommended to replace the brake fluid at least once every 2 years or after 30 thousand kilometers (whichever comes first).
The system is filled with special DOT-4 brake fluid.
USEFUL TIPS: Brake fluid is very hygroscopic (absorbs moisture from the air), which, in addition to the appearance of corrosion of parts of the brake system, reduces the boiling point of the liquid itself, and this can lead to brake failure during frequent heavy braking. Therefore, we recommend changing the brake fluid every year (spring). It is recommended to replace the brake fluid with an assistant, having previously installed the car on an inspection ditch or overpass (no need to remove wheels).
Use brake fluids that meet at least DOT-4 class. The sequence of fluid replacement in the brake mechanisms:
- right rear;
- left front;
- Left back;
- right front.
WARNINGS: Do not reuse drained fluid: it is contaminated, saturated with air and moisture. Always add only new fluid of the brand that was used before to the system.
Brake fluid is hygroscopic (absorbs moisture from the surrounding air), so it can not be stored in an open container. Protect the environment! Do not pour used brake fluid into the soil or sewer system.
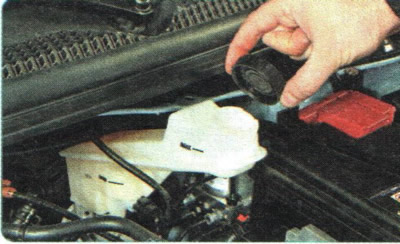
1. Turn away a stopper of a reservoir of the main brake cylinder.
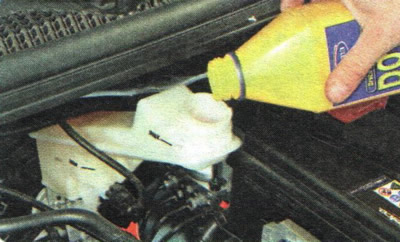
2. Add clean brake fluid to the reservoir up to the lower edge of the filler neck.
WARNING: Park the vehicle and place wheel chocks under the rear wheels («shoes»).
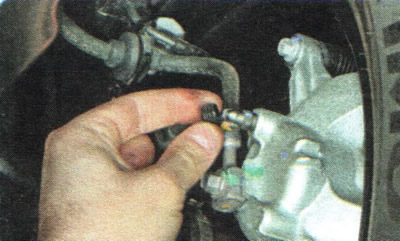
3. Clean the air release valves from dirt and remove the protective caps of the valves of the working cylinders of the brake mechanisms of the front...
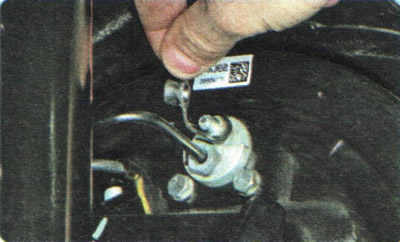
4....and rear wheels.
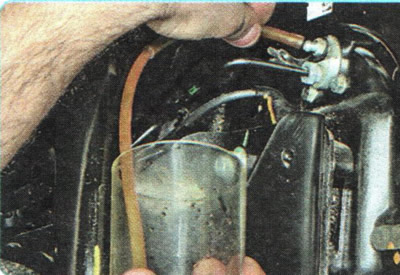
5. After that, put a rubber hose or a transparent tube on the air outlet valve of the right rear wheel brake slave cylinder and immerse the end of the hose in a clean transparent container.

6. The assistant should sharply depress the brake pedal four to five times (with an interval between pressing 1-2 s), and then keep the pedal depressed.
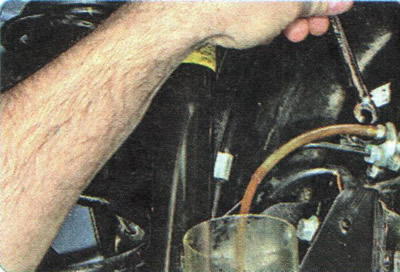
7. Loosen the air release valve 1/2-3/4 turn. The old one will start to flow out of the hose (dirty) brake fluid. The brake pedal at this time should smoothly reach the stop. As soon as the fluid stops flowing, close the air release valve.
NOTE: Constantly monitor the liquid level in the tank, not allowing it to drop to the mark «MIN» on the wall of the tank. Top up with new brake fluid as needed to prevent air from entering the hydraulic drive. This ensures that the old liquid is gradually replaced by the new one without draining the hydraulic system.
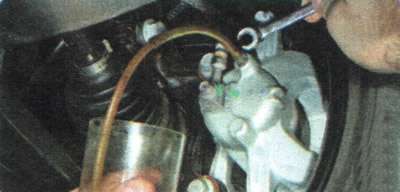
8. In the same way, replace the brake fluid in the working cylinder of the brake mechanism of the left front wheel.
9. Then change the brake fluid in the second circuit (first in the working cylinder of the brake mechanism of the left rear wheel, then the right front).
10. Repeat steps 5-8 until the fluid in the drive is completely replaced (clear fluid without air bubbles should flow from the hose).
11. After changing the brake fluid, be sure to put on protective caps on the air release valves. Replace damaged caps.
12. Check the quality of the work done: press the brake pedal several times - the pedal stroke and the force on it should be the same each time you press it. If not, return to steps 5-8.
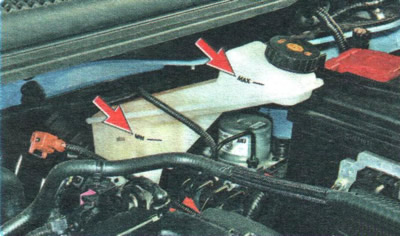
13. Add brake fluid to the level between the marks «MAX» And «MIN» on the wall of the tank and screw on the cap.
14. Install the parts in the reverse order of removal.
