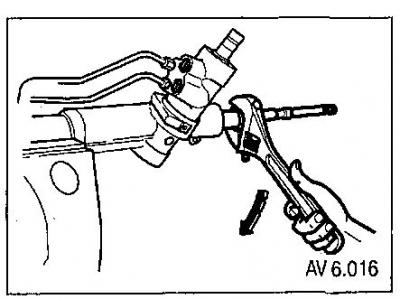
Withdrawal
1. Remove the tie rod ends.
2. Remove steering drafts.
3. Remove the drive shaft-gear assembly (see above).
Note. The pinion shaft ball bearing should be carefully removed by lightly tapping the shaft.
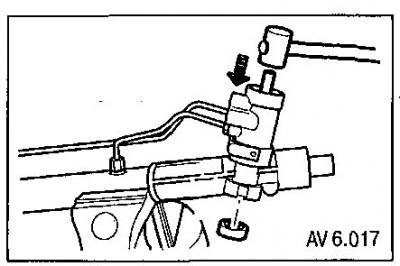
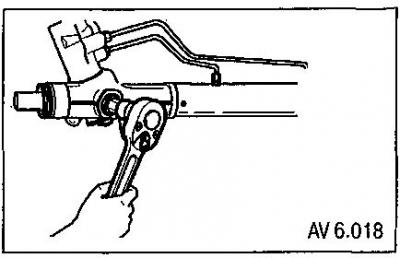
4. Unscrew the locknut and adjusting plug.
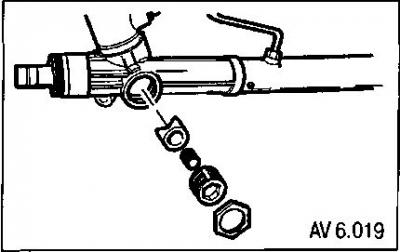
5. Remove the spring and rack sliding stop.
6. Remove the circlip from the steering box.
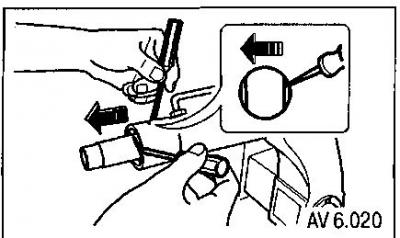
7. Remove the rack from the crankcase.
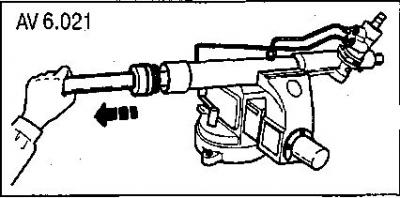
8. Check rack and pinion elements for damage and deformation.
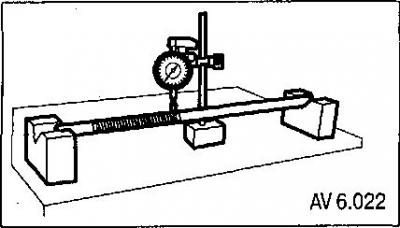
9. Check the drive gear shaft with control valve for damage.

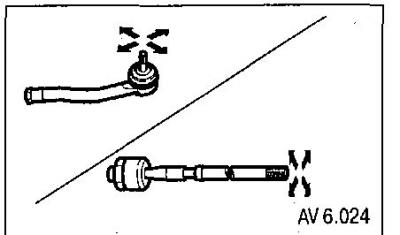
10. Check up internal hinges of steering draughts and spherical hinges of tips.
Installation
After inspecting and replacing all rejected parts, assemble the steering gear in reverse order.
Caution: When installing the rack slide stop, lubricate the stop, spring, and adjusting plug with grease. After assembling all elements of the steering mechanism, pre-adjust the load of the sliding stop.
For this:
1. Tighten the regulator plug to 12 Nm,
2. Holding the plug with a hexagon 22, tighten the plug locknut to 30 Nm.
Make the final adjustment with the steering installed on the car, according to the method that will be described below.
During assembly and installation, tighten the fasteners to the following torques:
- self-locking nut of the drive pinion shaft - 30 Nm;
- inner tie rod joint - 90 Nm;
- tie rod end locknut - 60 Nm,
- nut of fastening of a spherical finger of a tip - 60 Nm.
Adjusting the clamping force of the slide rail stop
After installing the rack and pinion steering mechanism, topping up the hydraulic fluid and removing air from the system, make the adjustment. In this case, the front wheels of the car must be hung out, and the steering wheel must be in the middle position.
1. Holding key (hexagon 22) adjusting plug, loosen the lock nut.
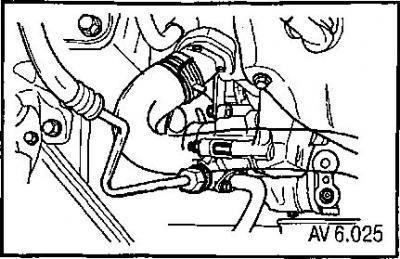
2. Tighten the regulator plug to 12 Nm and loosen by turning 55-65°.
3. Check if the rack drive shaft torque is within 0.9-1.7 Nm.
4. While holding the plug with a wrench, finally tighten the locknut to 70 Nm.
